
To make the sample we are going to be using a program called VirtualDubMod. NOT VirtualDub, but VirtualDubMod.
You can download it from the virtualdubmod homepage below.
Virtual Dub Mod
OR
VirtualDubMod
Once you download and install it you want to run it.
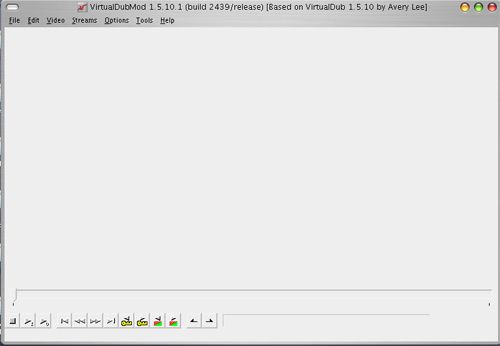
***** Making a sample from an AVI file *****
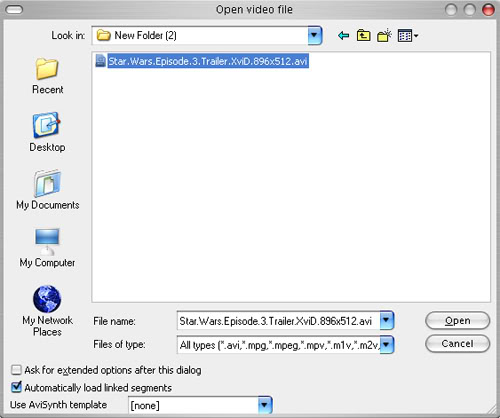
Now that you have VdubMod open you want to click on File>Open Video File

Now navigate to your AVI file and open it.
Once you open your AVI you may get one the following errors…..
If you receive the error in the picture below, just click no and continue.
(This error just means that VirtualdubMod has detected an improper bitrate and would like to fix it for you with the negatives being it will encode it into a different audio format.)

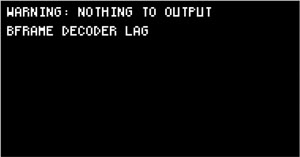
If you receive this error, just ignore it. (This error just means that VirtualdubMod is just lagging a bit on detecting the video information. Your video will show once you continue with the tutorial)
Ok, so we have your video open and if you wish to you can
drag the slider around to make sure your video is displaying.

Before the next step make sure you have dragged the slider back to the beginning of your video file. If you didn’t know most samples created by the “scene” are one minute long.We will be following “scene” standards below.
Now we are ready to weed out the 1 minute from your AVI file. Most people like samples from the beginning or middle as the end tends to give away the rest of the video.
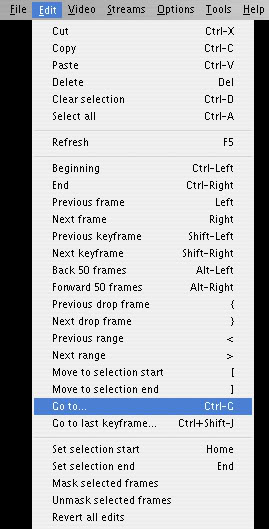
Your going to now click on “Edit”, now displayed is a drop down menu. Move down the menu and click on “Go To”.
Before the next step make sure the “Jump to frame at time:” is selected.
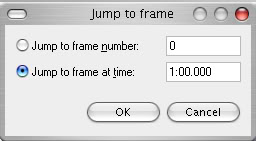
We will now choose the time interval in our video file where we want to start the one minute sample from. The time you choose depends on your video file. For most movies you would choose somewhere between 10 and 20 minutes as your starting point. But because my video file is only two minutes long i will be choosing the first minute as my start point.
So now choose your time interval and type it into the “Jump to frame at time” text box.
Shortcuts
For 1 minute type 1:00.000
For 5 minutes type 5:00.000
For 10 minutes type 10:00.000
For 20 minutes type 20:00.000
You should now understand where to place your number.
VirtualdubMod should have moved the slider to the desired time.
Click on the icon that is stroked in red below.
(by clicking this you are defining what part of the video you want to keep)

You should notice a black arrow under your slider as shown in the above image.
Now, again click on “Edit”, and move down the menu and click on “Go To”.
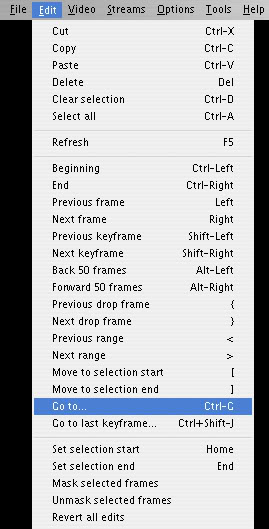
Change the number from 1 minute and increase it to 2 minutes
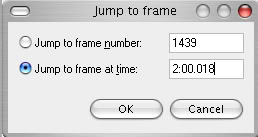
VdubMod should have moved the slider to the spot you choose.
Now you should click on the below icon.

You should now have a blue bar in between the chosen
spots. You can tell the file size and amount of time chosen if you look in the box below.

Were almost done.
Now click File> Save As
and choose the directory and the filename.


Now you can click Save and it should start processing.

The processing session shouldn’t take longer than a few minutes or a few seconds at the least. Depending on the length of sample you choose.
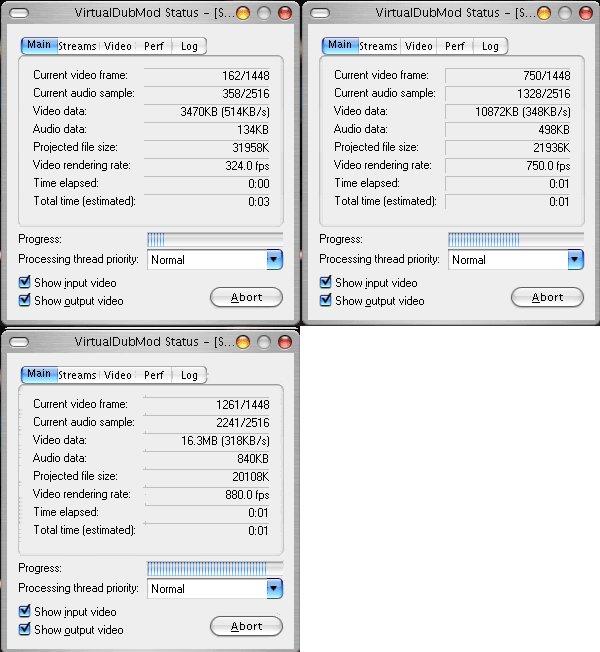
Once the sample is saved you should open it in your media player of choice and make sure its length is 1:00.
NOW YOUR DONE!!
You can choose whatever length of a sample you wish. I just went by how the “scene” makes their samples. You can choose a 1 minute sample or a 5 minute sample.
I suggest the 1 minute because the more minutes the bigger the sample.